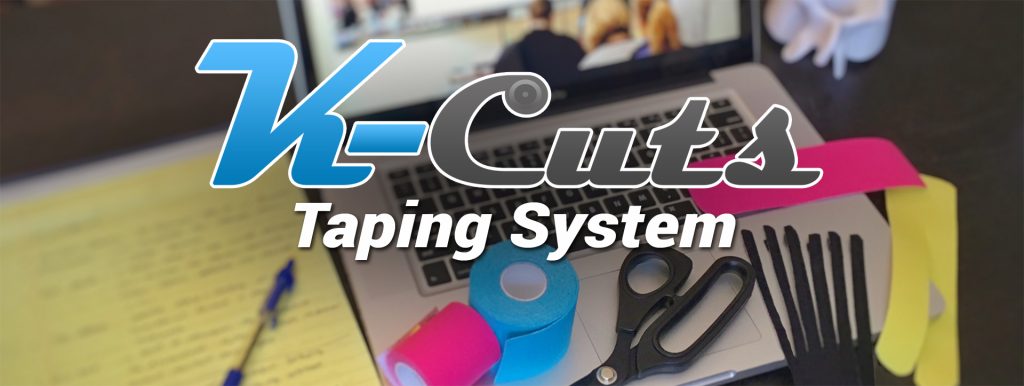
Welcome to the K-Cuts Taping System eCourse
Welcome and thank you for choosing to join us! You are one step closer to improving your treatment outcomes and overall patient satisfaction. We are confident that once you combine the knowledge and clinical skills you already possess with the information we have prepared, you will see, as so many have, the impact that kinesiology taping can have.
It is important to mention from the start that the new kinesiology taping skills you are about to learn should not be used as a replacement of your primary treatment tools, such as massage, chiropractic, rehabilitation exercises, etc. Kinesiology taping is best implemented as an adjunctive rehab solution like ultrasound, electrical stimulation or cryotherapy, to complement and prolong the outcomes of your work.
Like ultrasound or electrical stimulation, it’s not an overly complicated modality. However, you must first have a solid foundational understanding of any of these modalities if you are going to be successful in the administration of them. Being able to adjust the equipment to the proper settings and frequencies can make all the difference when using stim or ultrasound. The same consideration should be given to using kinesiology tape. Once you can understand how the tape can have an impact through its ability to ‘lift the skin’ as well as ‘provide sensory input’, you will be able to properly ‘adjust the settings’ (tension, cuts & direction) to accommodate your individual patient needs.
In this eCourse we will begin to ascertain the core methods of using the kinesiology tape. If you don’t follow the flow of the curriculum we’ve designed and fail to take the appropriate amount of time to practice, it will result in marginal success with this system. In the past, you may have learned ‘methods’ or ‘techniques’ for your skill set. This is a system. A system is designed to compliment your existing methods or techniques so that you may enhance what you are already doing. In a moment, you will see us begin to reveal the framework behind our K-Cuts Application Grid. This grid will serve as your GPS to navigating effective means of using kinesiology tape. The K-Cuts that we have developed to compliment the Application Grid are like the “favorites” in your GPS. You will be able to use these as a means of easily navigating through over 30 different conditions that we will demonstrate. K-Cuts are shortcuts to make your kinesiology taping experiences more streamlined. These applications have been used successfully for years on our very own patients, so we have seen first hand how well they work. However, there have also been times where they have no impact on others. This is where your new knowledge of the K-Cuts Application Grid along with the properties and functionality of the tape will allow you to make the appropriate modifications to ‘reroute’ your application so you can arrive at a successful result.
Our proprietary KCuts™ Application Grid quickly prepares you to customize your own unique kinesiology tape applications for almost any suitable condition. It’s time to explore the range of therapeutic benefits the K-Cuts Taping System™ can bring to your practice. It’s time to #GetYourTapeOn!
Here are a few tips that will help you get the maximum benefit from our eCourse:
Items to have on hand while viewing the eCourse
- 1 roll of kinesiology tape
- 1 pair of sharp scissors (the tape is difficult to cut with dull scissors)
- 1 bottle of rubbing alcohol and paper towels to clean the skin
Chapter Break Tips
- The course is designed to pause at the end of each chapter.
- Stop and review the information in the chapter as many times as you wish.
- Successfully answer all quiz questions at the end of each chapter before moving forward .
Tips for taking this eCourse
- Map out some dedicated time to completing this eCourse
- Don’t try and rush through it! Regardless of the amount of new knowledge you quickly gather, it will take plenty of practice to handle the tape confidently.
- Shut off cell and other electronics that may become a distraction.
- Find the best time of day that allows you to be alert and focused.
- You can return to your account to review this eCourse any time.
- You can easily navigate to any chapter or section you have already watch as often as you like.
- “Mark Complete” at the conclusion of each chapter to advance to the next.
- At the conclusion of this eCourse you will receive a “Certificate of Completion.”
- Keep your K-Cuts Taping System, eBook or hard copy accessible. Download the eBook to your mobile device for easy referencing. This not only makes it accessible during your work day, but serves as a fantastic visual & teaching tool for your clients.
- Seek out a few friends or family to practice on. You’ll need them later for the evaluations.
- Try to avoid the question; How do I tape <insert condition>? Follow along as we guide you through the Application Grid and you will be able to tape specific conditions as well as other means that will benefit your patients.
Take Notes as you take the eCourse
- If at any time you’d like to take notes and save them for future reference, you can click in the lower right hand corner of your screen and save important notes.
- You will always be able to access these notes here on this course page, as well as on your account page.
If you have any questions or comments along the way, please do not hesitate to contact us at [email protected]. Enjoy the K-Cuts Taping System eCoursse!
The K-Cuts Taping System eCourse
Click on “Introduction” in the course menu below to begin taking the eCourse!